Basics - How to import a Mixamo character in UE4
The following are basic and generic instructions to correctly import a character from the Mixamo website into an Unreal Engine 4 project. Playing with the options in Mixamo and Unreal Engine 4, more advanced workflows are possible.
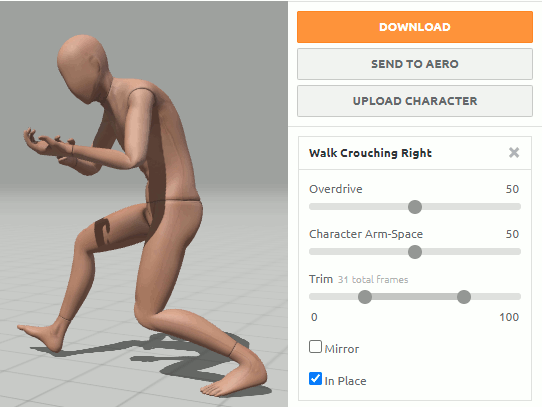
- select a Character in the Mixamo website.
-
ensure no animation is selected. If an animation is selected, press the X icon near the animation name

-
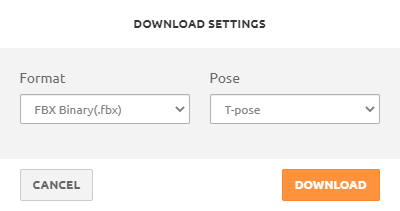
press the Download button

- in the Download Settings dialog, set:
- Format to FBX Binary;
- Pose to T-pose.

- press the Download button and download the FBX file;
- import in Unreal Engine 4 the downloaded FBX file (you can drag & drop the file in the Content Browser, or use the Add/Import > Import to option);
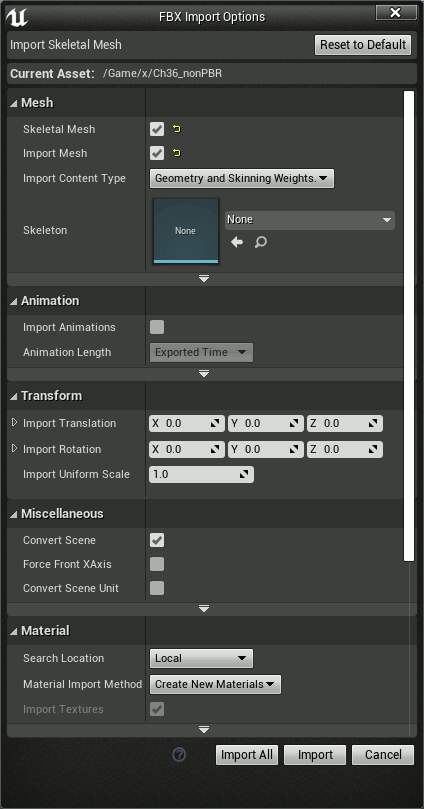
- in the FBX Import Options dialog:
- use the Default settings, if in doubt press the Reset To Default button;
- enable the options Import Mesh and Skeletal Mesh;
- set the Skeleton option to None (IMPORTANT - this we'll create a dedicated skeleton matching the size of the imported skeletal mesh);

- press the Import or Import All button.
Done :) You'll find the Mixamo character, with its textures and material, in the Content Browser.
Now you are ready to process it with the UE4 Mixamo Animation Retargeting plugin, or maybe you want to import some Mixamo animations before.
Fuse characters
When importing some Fuse characters, it's possible that the end result could look wrong.
This is a known issue when importing Fuse characters into UE4: its materials are set to "Translucent" while they should be set to "Masked" or "Opaque" (depending if they're using an Opacity texture or not). To fix it, check all the imported materials and:
- if the material has an Opacity texture, set the material Blend Mode to "Masked" and connect the Opacity texture to the Opacity Mask pin;
- otherwise set the material Blend Mode to "Opaque".
See here for more details: https://windowsforum.com/threads/how-to-get-fuse-characters-working-in-unreal-engine-4-15.227038/#post-691810 .
